Winter will be here before you know it, which means activities like ice skating, snow skiing, and drinking hot chocolate are near. Unfortunately, it also means you will soon deal with snow, ice, and the potential for roof damage to your home or place of business. MARSHALLTOWN wants you to be prepared this season, before it’s too late! With an Avalanche!® 500 or 750, you can quickly and easily remove snow from your roof, preventing ice dams. This tool is more efficient than a traditional roof rake due to the plastic slide, allowing the snow to slide right off, and the wheels protect your roof by reducing wear and tear on your shingles.
This guide will walk you through the simple steps for using your Avalanche!® 500 and 750, how to store your snow tool, and which model is the right one for you.
Step 1: Assemble Your Avalanche!®
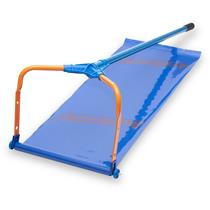
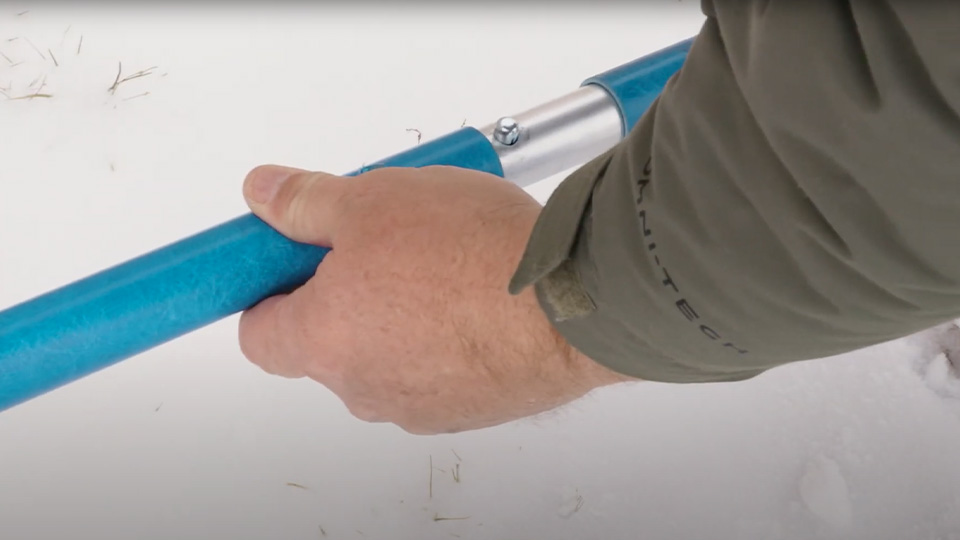
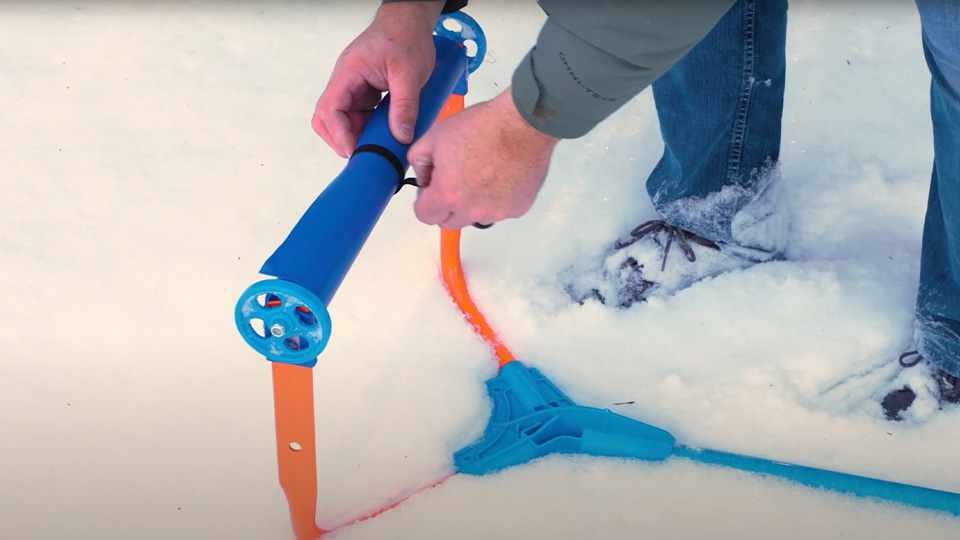
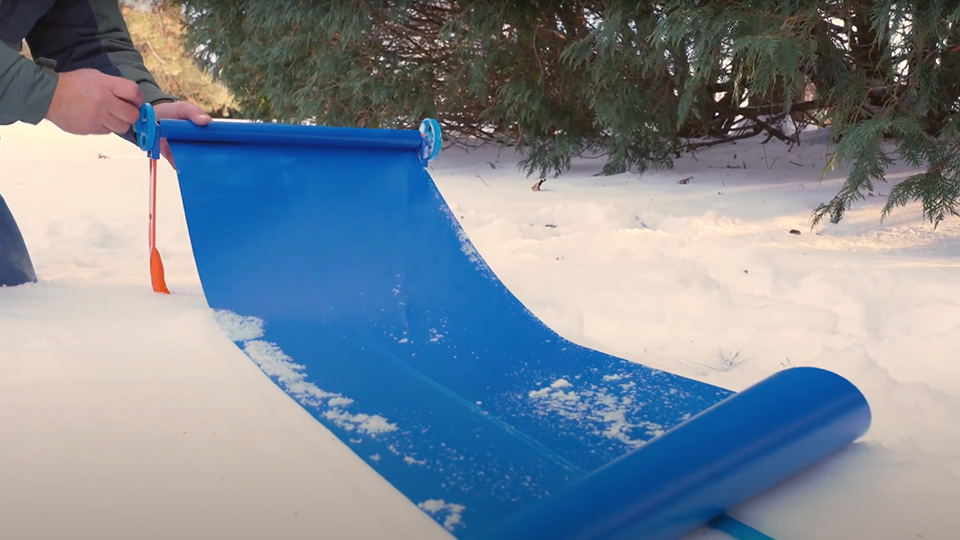
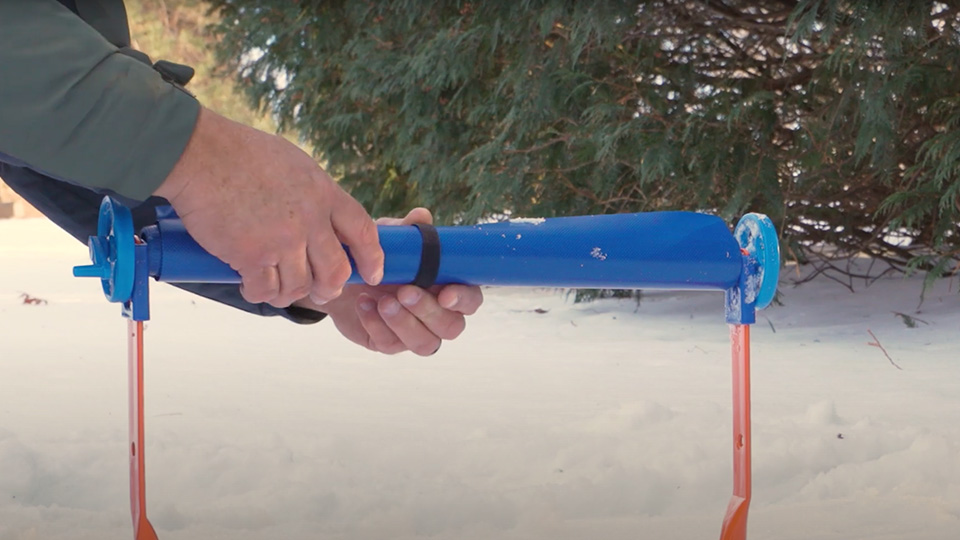
Assembling your Avalanche!® 500 and 750 is an easy process. Both models come with four lightweight fiberglass handle sections. Snap the handle sections together and you’ll have a 15½’ pole. Then, remove the hook and loop strap located around the plastic slide and unroll the slide.
Step 2: Place and Use Your Avalanche!®
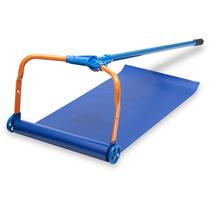
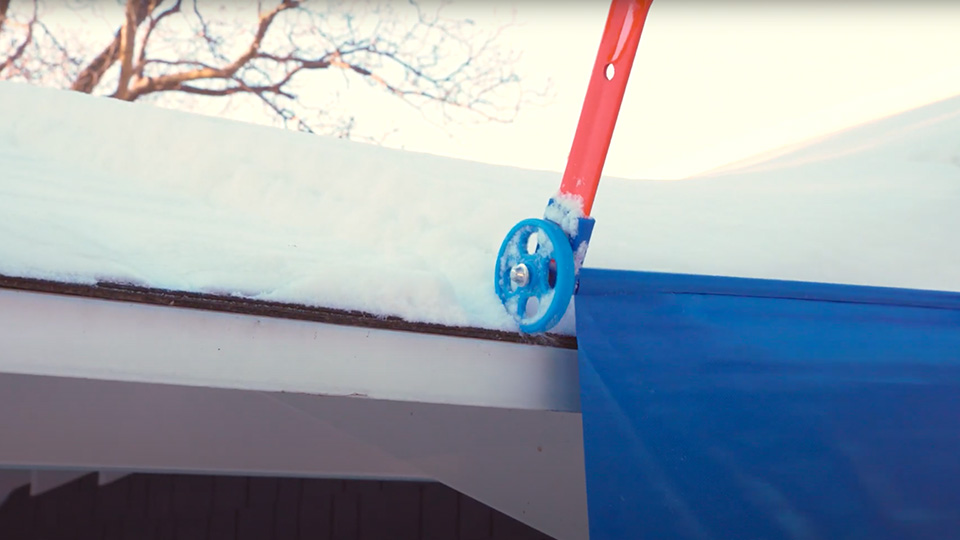
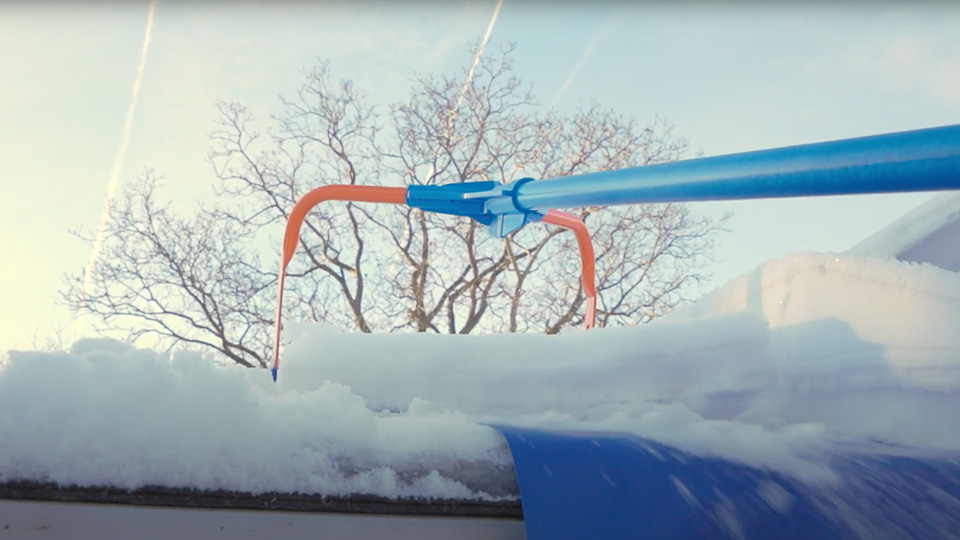
Place the snow tool up on the roof, aligning the wheels with the edge. Now, push the Avalanche!® forward on the roof. As you do this, the wheels will ride on top of the roof and the plastic slide will slip between the snow and the roof. As you keep moving the tool upward, the snow will release and slide down the plastic slide to the ground below.
Step 3: Disassemble Your Avalanche!®
Once you’re done clearing the snow, roll up the plastic slide with the included lever (located on the side of the snow tool). Then, place the hook and loop strap back around the slide to secure it in place. Lastly, take apart the pole extensions.
Storing Your Avalanche!®
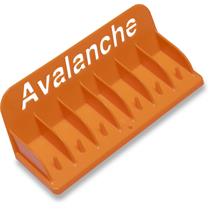
For convenient storage, check out the Avalanche!® Storage Bracket. Easily mount this product to a wall stud or wall anchors with two #8 x 1.5” or 2” length screws. Be sure to mount the bracket at least 7’ above the floor to allow the poles space to hang. If you are mounting the bracket in a busy garage area, consider mounting it higher so the head and angled pole will clear car doors and active foot traffic.
Note: Storage Bracket hardware is not included
Choosing the Right Model
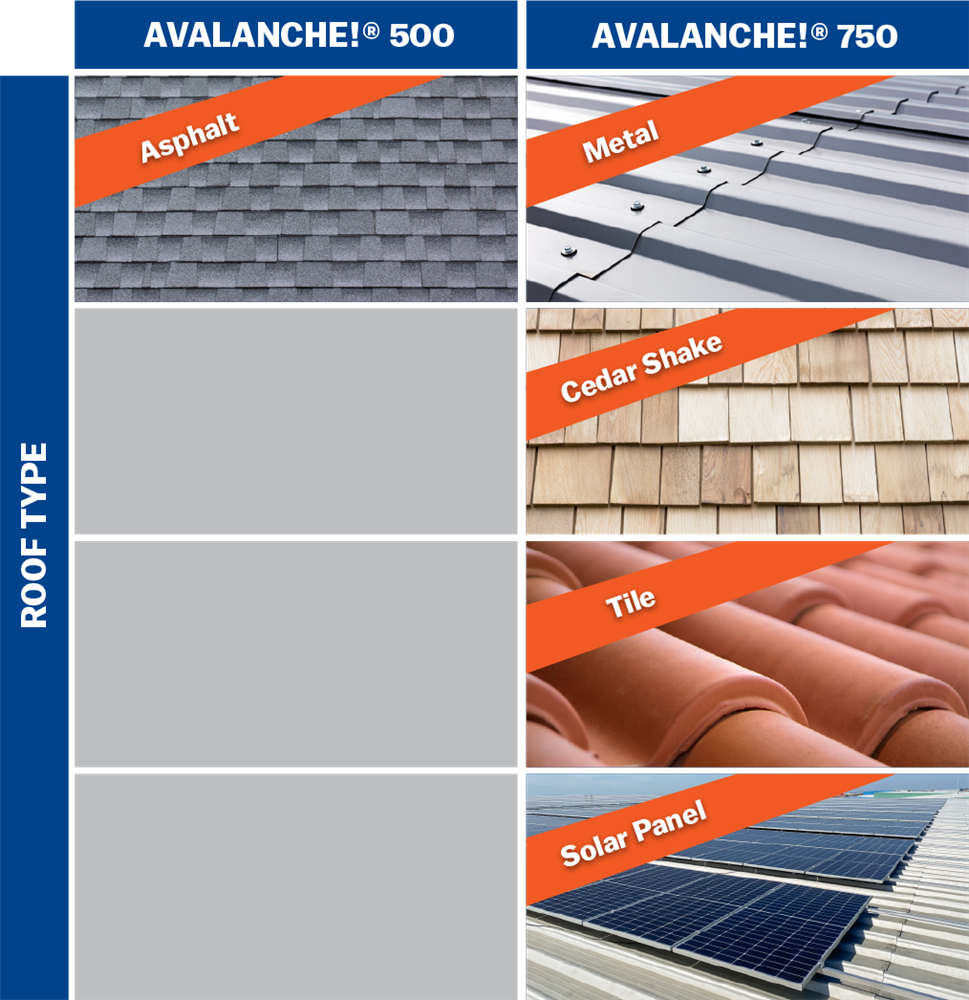
The Avalanche!® 500 and 750 series both feature a 17” wide plastic slide that measures 12’ long and include three pole extensions measuring 15½". Your total reach with this tool is 16’. The difference between the two is in the wheels. The 500 model has 1-½" wheels designed to work with most asphalt shingle roofs, while the 750 model has heavy-duty 3” wheels for use with metal, cedar shake, tile, and solar panel roofs.
With an Avalanche!® snow tool in your garage, you will be prepared to tackle the snow and ice that winter blows your way this season.