Vinyl siding is durable, but it's not invincible. Hail, heat, or forceful impact can cause cracks or breaks. Luckily, replacing a damaged panel is easy with the right tools and steps.
Step 1: Detach the Siding Above the Damaged Panel
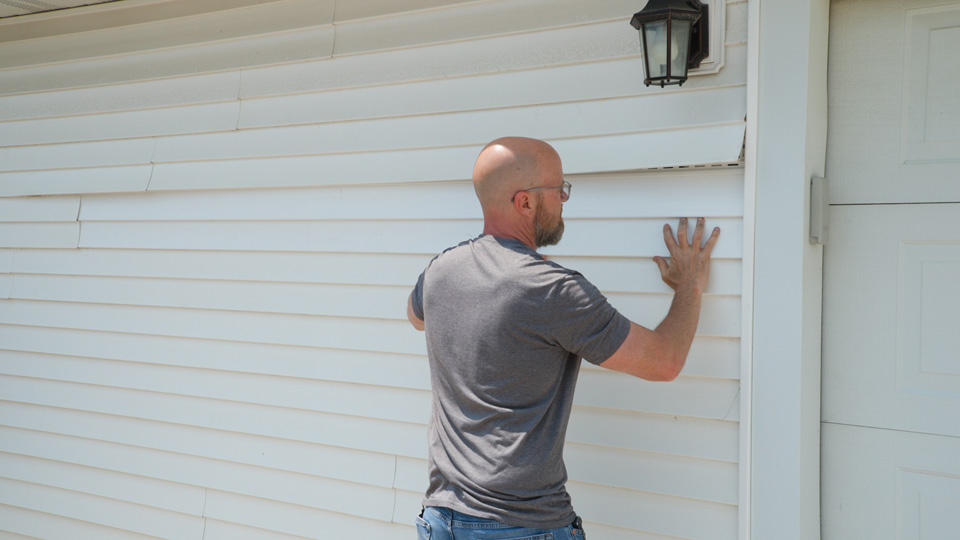
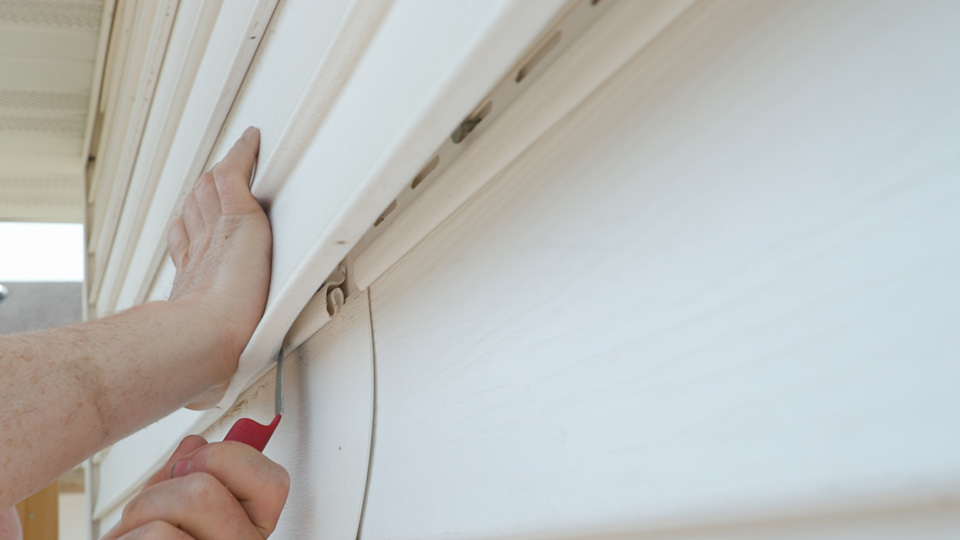
Using a vinyl siding removal tool, unlock the lip of the panel above. Then, slide the tool under the seam and gently unzip the siding.
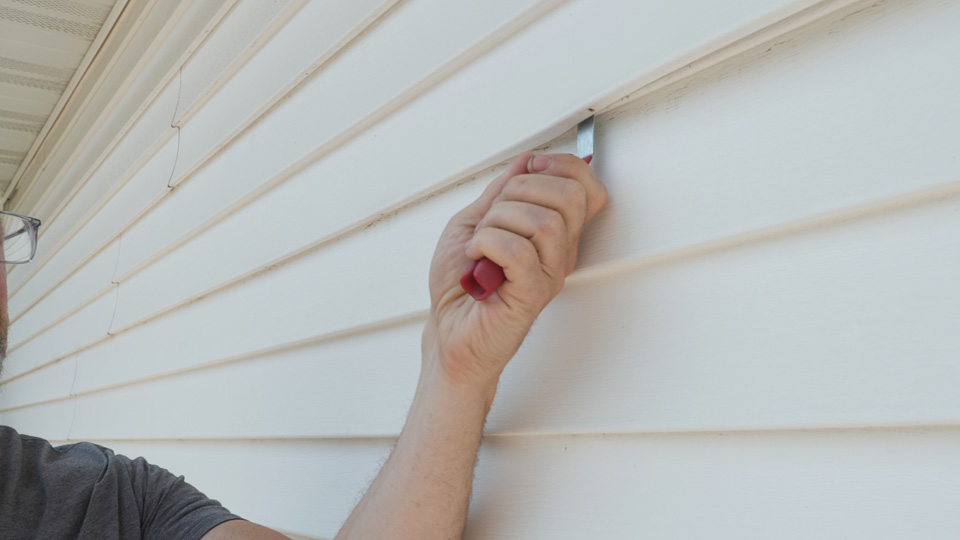
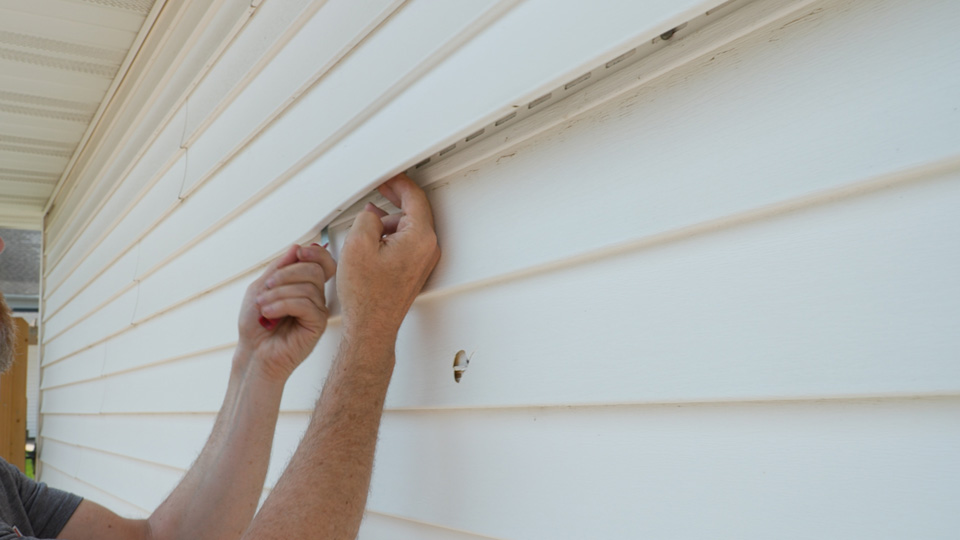
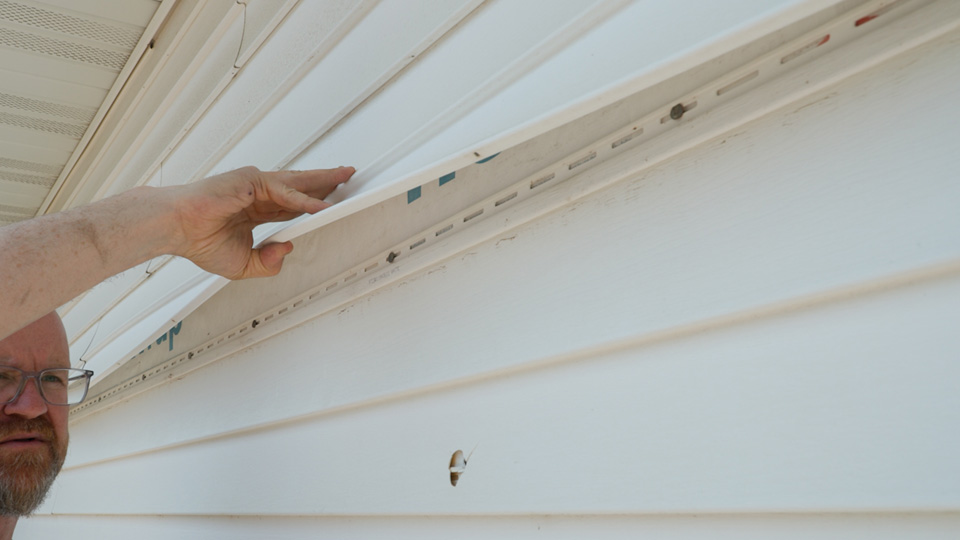
Next, lift the loosened siding up to access the nails underneath. This will expose the damaged piece that needs removed and replaced.
Step 2: Remove Damaged Panel
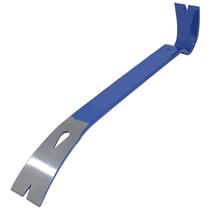
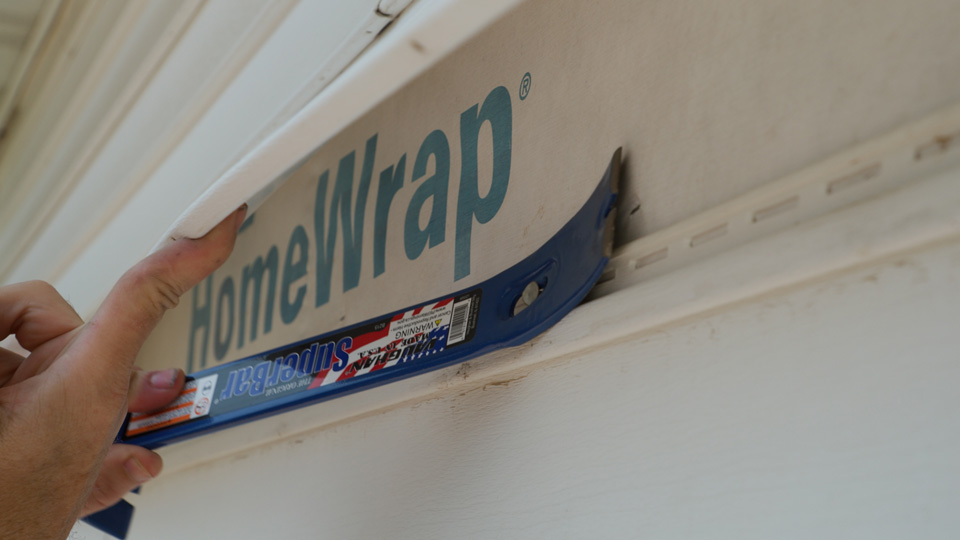
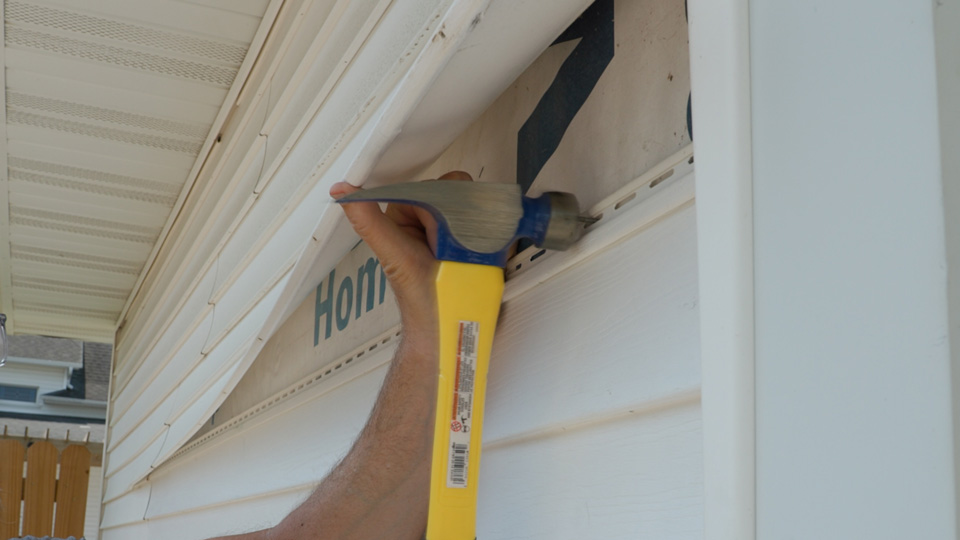
Use your VAUGHAN SuperBar® to pull out all the nails holding the damaged siding in place.

We recommend using the middle nail puller for the best leverage.
Once the nails are out, slide the damaged siding down and disconnect it from the piece below.
Step 3: Cut and Hang New Panel
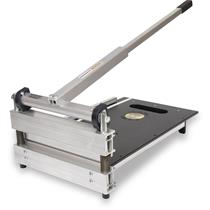
First, you need to measure and cut the replacement panel with your BULLET EZ Shear Siding Cutter. If you don't have siding cutters, a straightedge and utility knife will work fine!
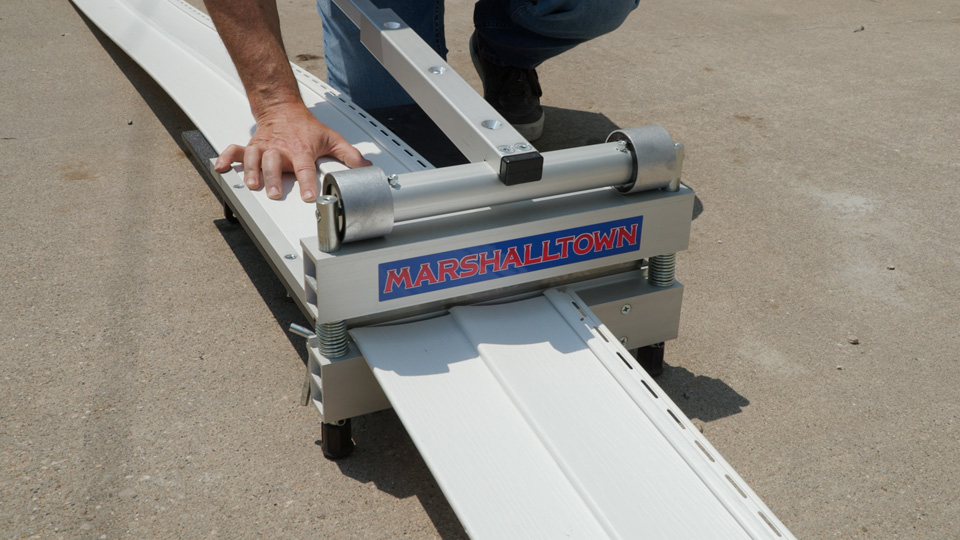
Cut the side that won't overlap another panel. In our case, it is the right edge.
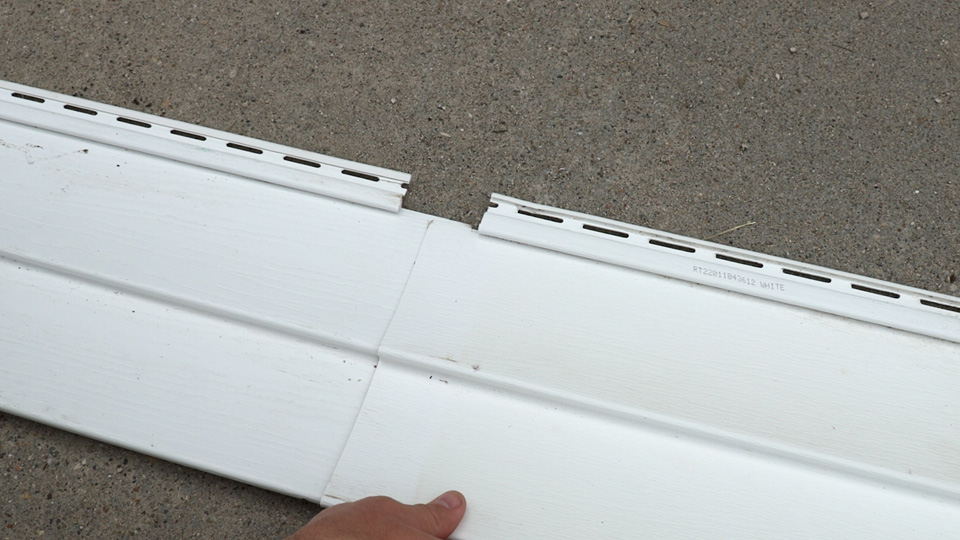
Notice on the new siding the nail slot is set back on the ends. This is for overlapping the ends and allows for expansion and movement, preventing wavy and warped siding.
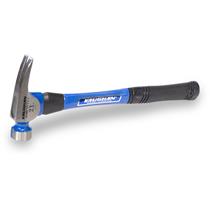
Now, snap the new siding into the lower panel's lock. Then, nail it every 12 to 16 inches, centering each nail in the slot. It's important to leave a small gap under each nail head to allow the vinyl movement. For accurate, solid strikes, we used the VAUGHAN 21 oz California Framer® hammer.
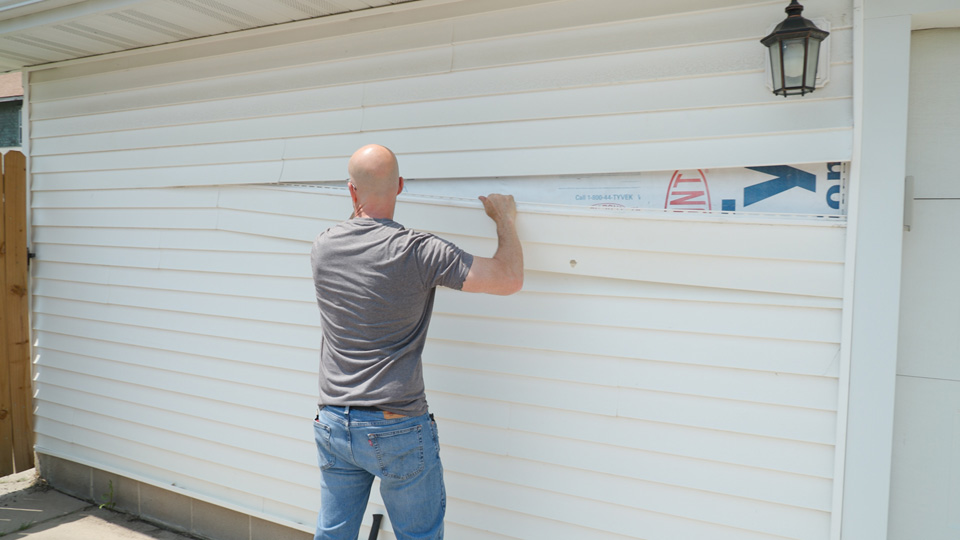
Step 4: Reattach the Upper Siding
Using the siding removal tool, pull down the upper panel's lip, and then snap it over the top edge of your new panel to lock it into place. Don't worry if the new siding looks slightly different. After some time and weathering, it will blend in naturally.
By following this step-by-step vinyl siding replacement guide, you'll save time and money. This quick fix is easy to do and will keep your home's exterior looking great while being protected from any weather!