A level subfloor will help your flooring last longer and stay in great condition. The process of applying self-leveling underlayment can seem daunting but following our six-step guide will help you feel more confident and comfortable.
Step 1: Prep Work
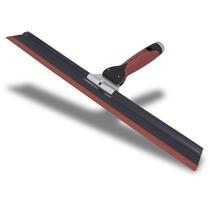
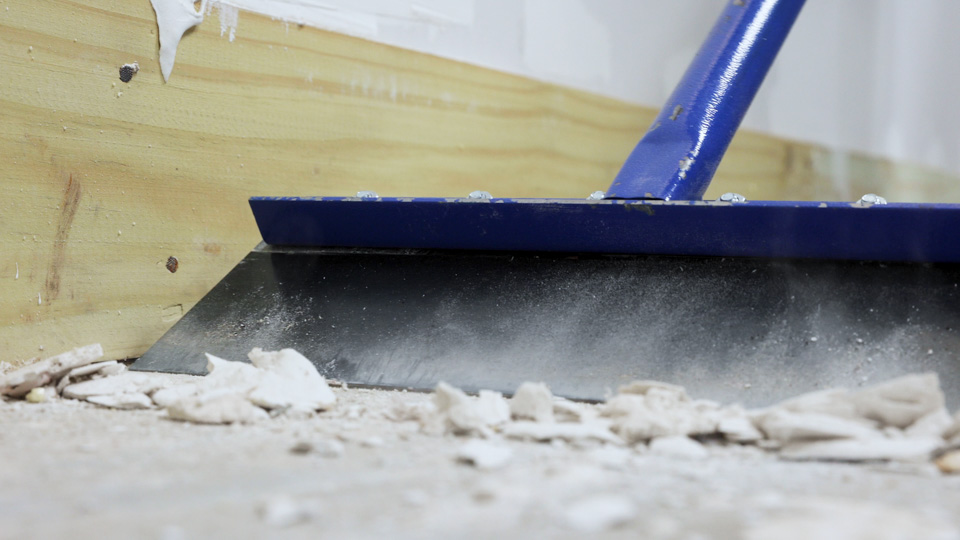
To prepare your floor for underlayment, clean up as much residue as possible. If your flooring is concrete, an easy way to do this is with a razor scraper. For this job, we opted for our MARSHALLTOWN Floor Scraper because of its flexibility. Scrapers that have a flexible blade are easier to use because they absorb the shock and save you energy.
Step 2: Seal
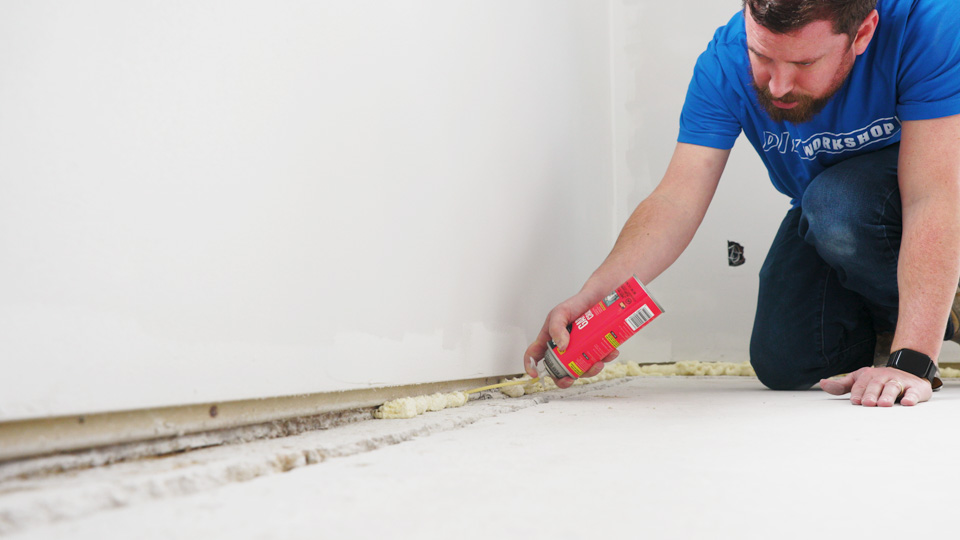
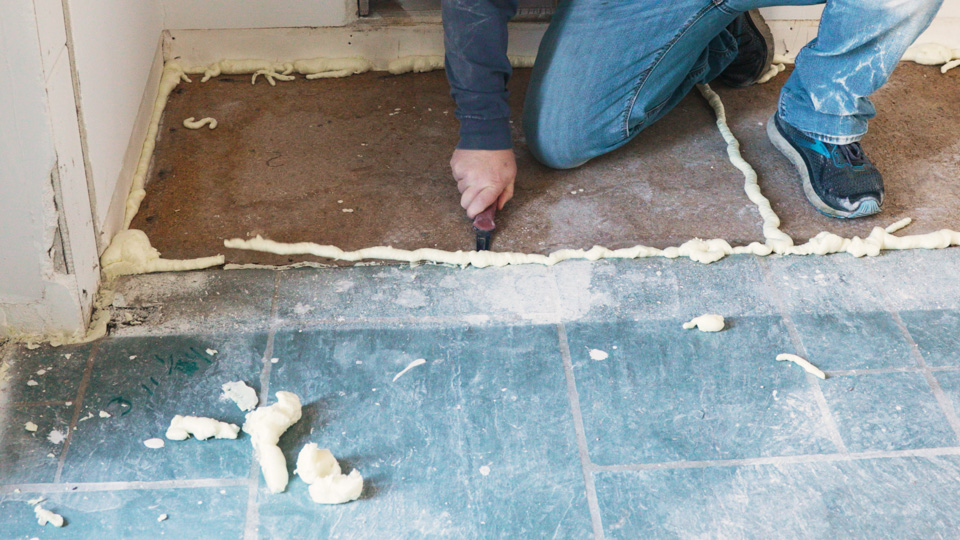
The next step is to seal up cracks and holes in the floor and joints. Using spray foam around the wall lines is a great way to make sure cracks are filled so your underlayment won’t go where it isn’t intended. Trimming the excess spray foam takes time but is worth it! If your concrete is cracked, we recommend filling the cracks with caulk, but make sure to wait 24 hours for it to dry before moving on to step 3. If caulking is not necessary, move to step 3 after trimming the excess foam.
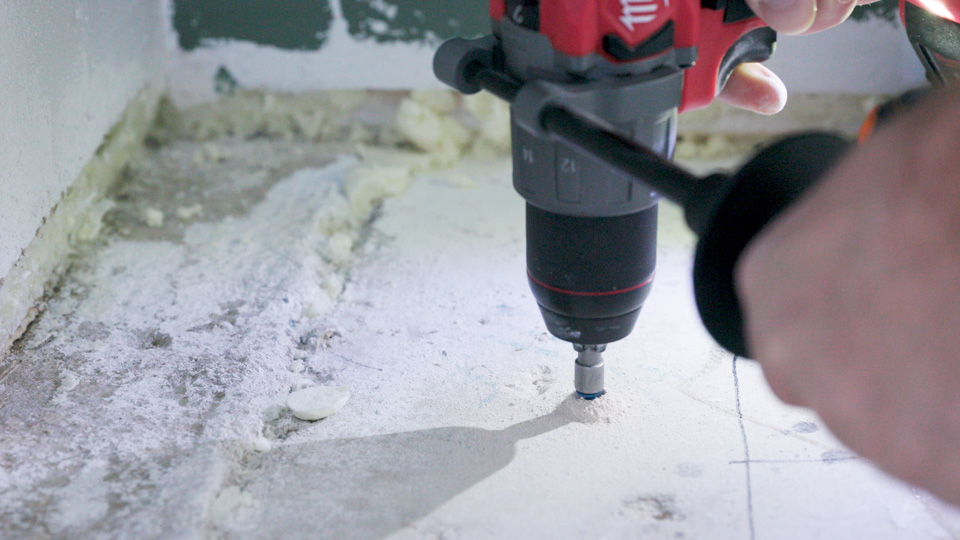
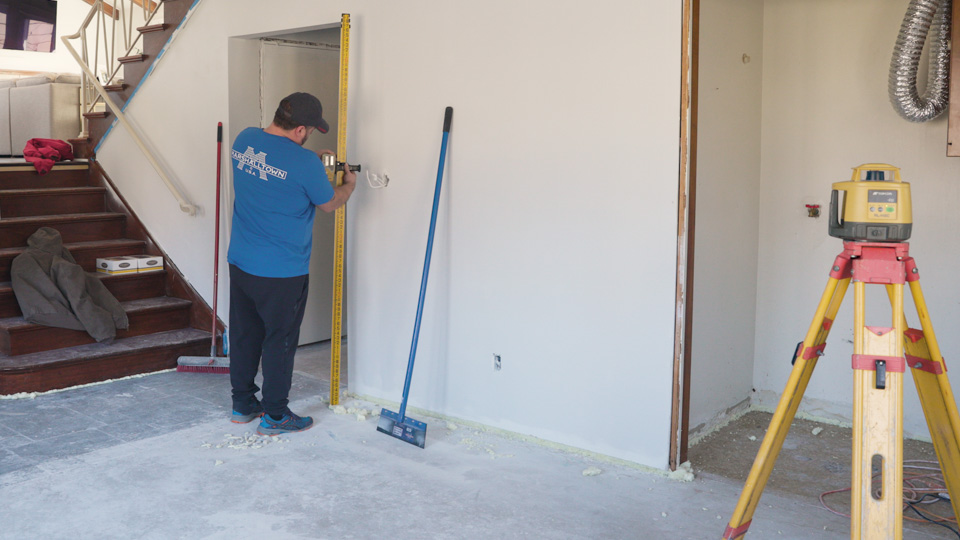
Step 3: Find High Spot and Low Spot
For your floor to be level, you need to determine where the high spot and low spot are located. We used a laser level system to determine our high spot. This can be rented at most home stores. If you don’t have access to a laser level, you can use a long level or make your own with a very straight 2x4 and a small level. When we found the high spot, we used Tapcon screws and created level reference points on the rest of the floor. The Tapcon screws can also help determine how much underlayment is needed. The amount needed to make up half and inch versus an eighth of an inch can be a big amount.
Step 4: Prime
Primer is an important step because it gives the underlayment something to stick to. Follow the manufacturer’s instructions for the dilution needed. To save time and back fatigue, we recommend using a MARSHALLTOWN Extension Pole to apply the primer. Make sure to apply primer in the direction of the exit and prime the entire room at once.
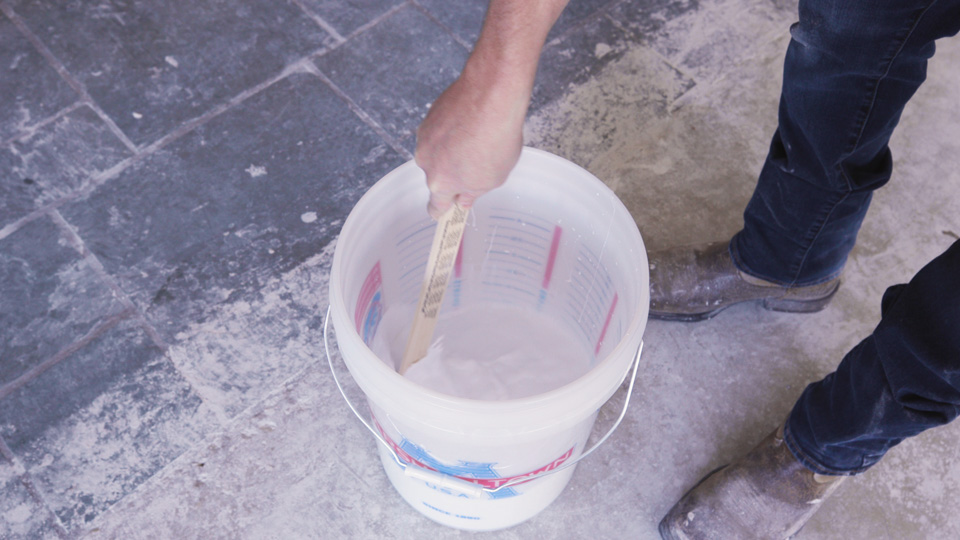
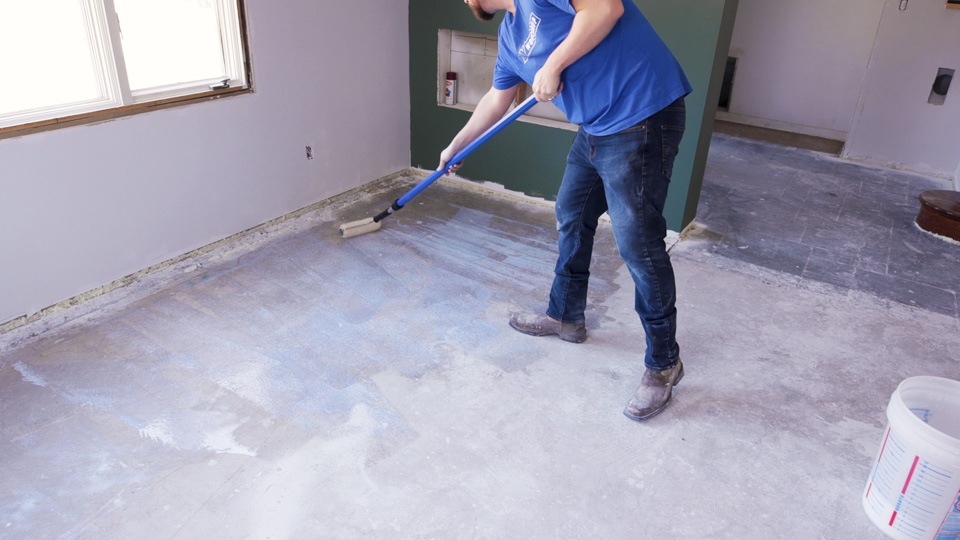
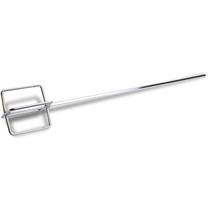
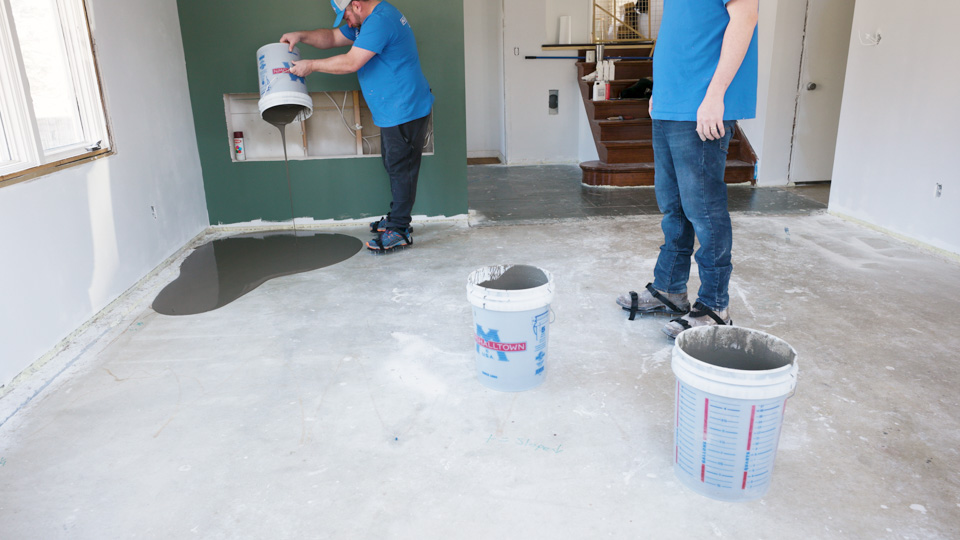
Step 5: Mix and Apply Underlayment
Now it is time to mix and apply the underlayment. It’s best to have three buckets ready to mix up, but you may need more depending on the size of the room. The mixture should be slightly thicker than water so it can run to the low spots. Follow the manufacturer’s instructions when mixing.
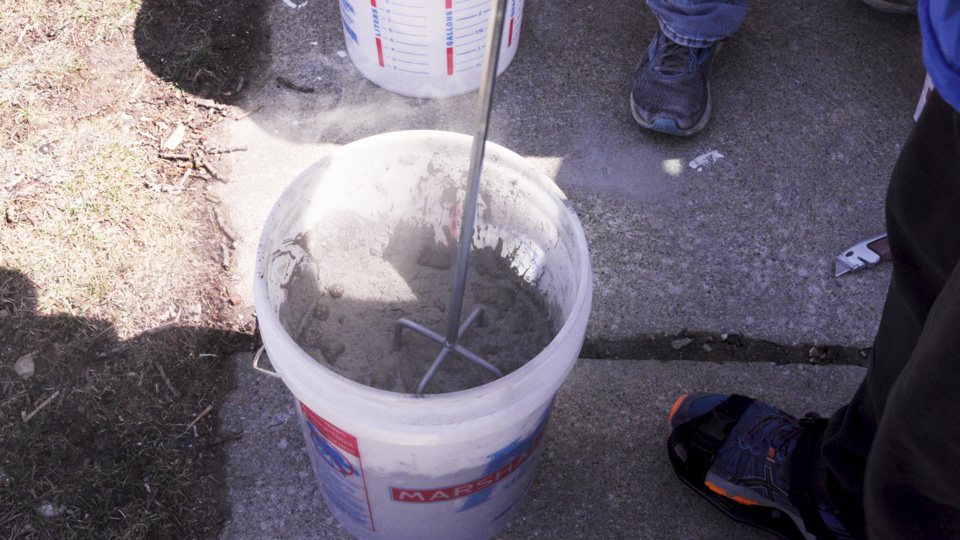

Make sure to always clean your bucket in between batches to avoid extra buildup.
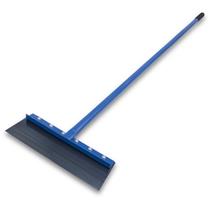
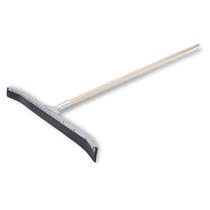
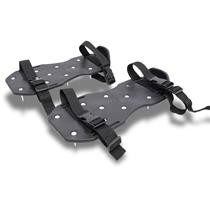
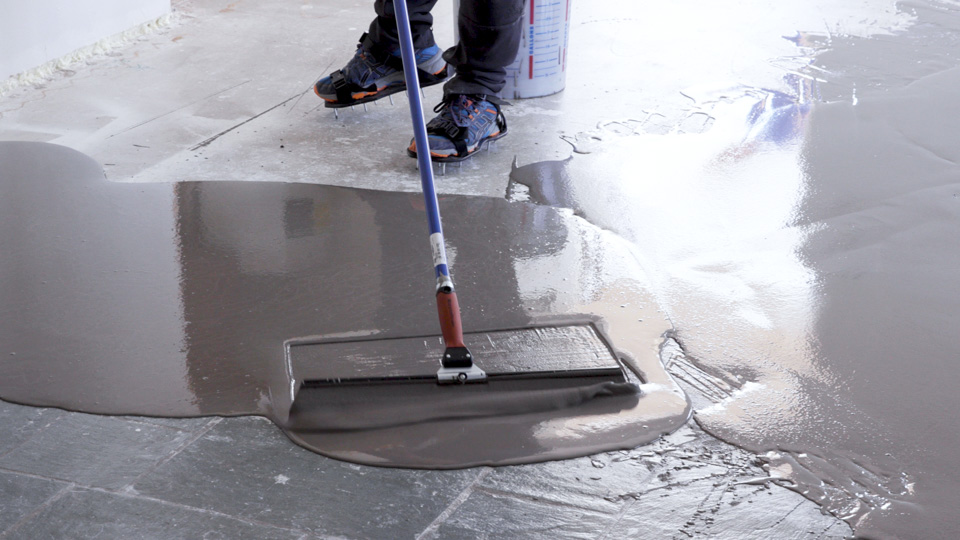
Start applying your underlayment at the lowest point and work toward an exit. As you continue mixing buckets be sure to maintain your product consistency. We recommend using a squeegee to pull any excess material. We also recommend Gunite shoes so you can get into those corners.
Step 6: Dry Time
The underlayment needs 12 hours to dry. There is no need to pull the screws back out, but if any happen to be sticking up, you should be able to unscrew them back out. Once everything is dry, you can confidently install your new flooring knowing you are working with a level surface that will look great for many years!