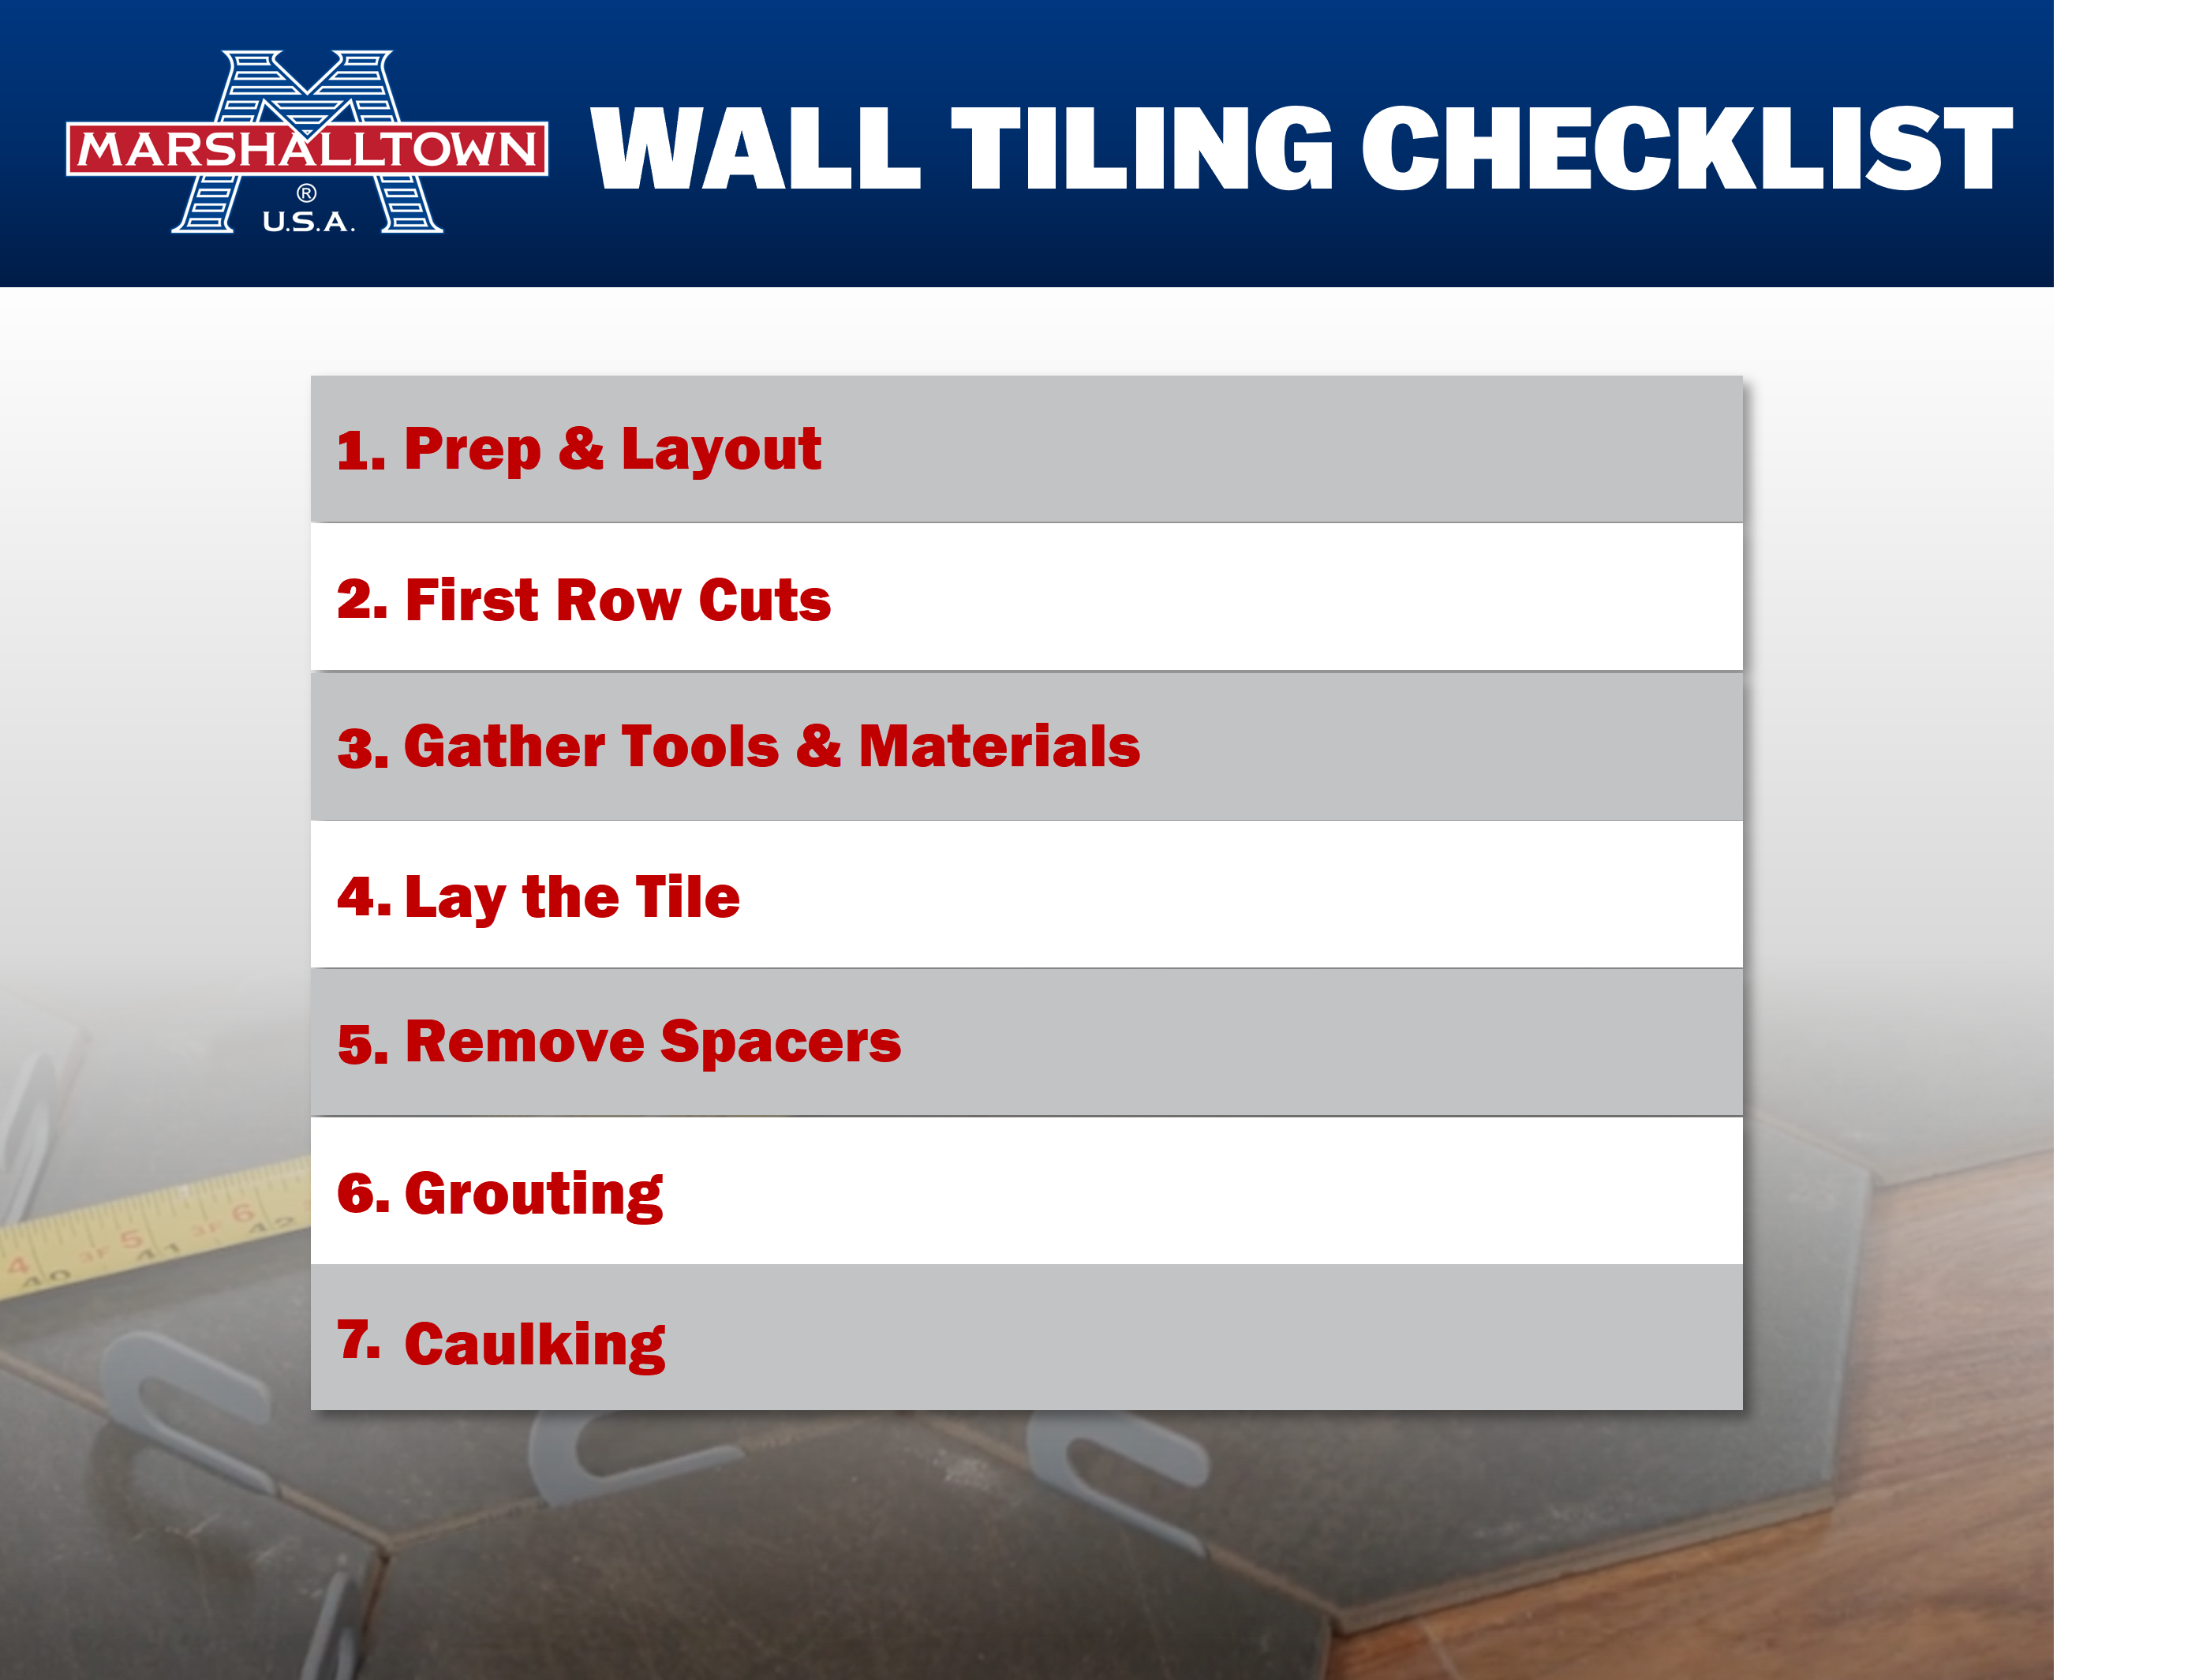
One way to add style and personality to a space in your home is by tiling an accent wall. This may seem like a job for the pros, but with the right steps and tools, it's totally doable for a motivated DIYer. In this post, we break down everything covered in the video tutorial, from layout to grouting, for a clean, polished tile install you will be proud of.
Step 1: Prep & Layout
- Rosin Paper
- Painter's Tape
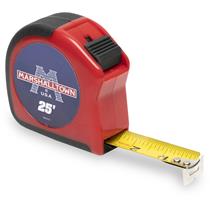
- Tape Measure
- Pencil
- Tile
Start by taping rosin paper down over your countertop to avoid making a mess or damaging the surface below. Next, establish your center point on the wall and do a dry layout of your tiles. This helps ensure you don't end up with tiny sliver tiles on either end or at the top.
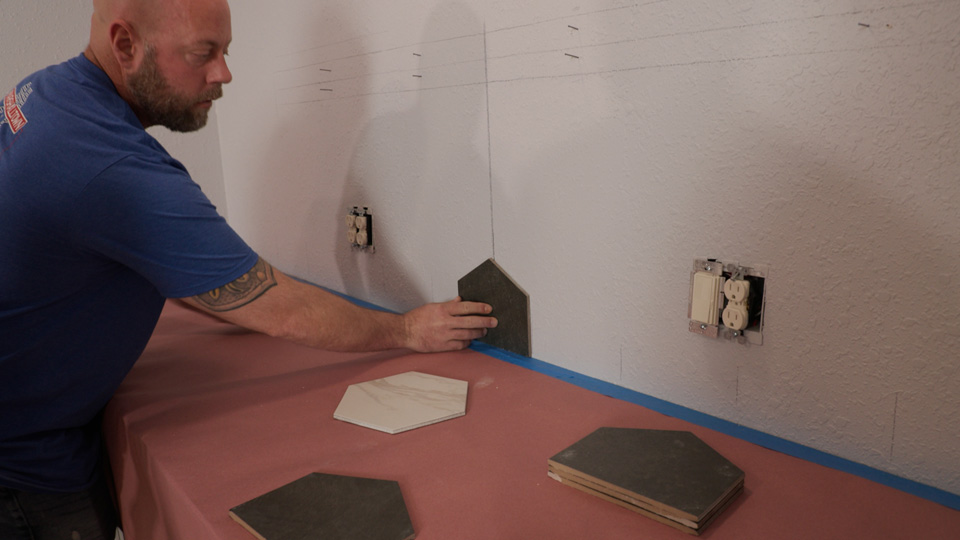
Another way to double check that your tile will be symmetrical is to lay out the tile on the floor. This will allow you to visualize where the tile will end up on the wall.

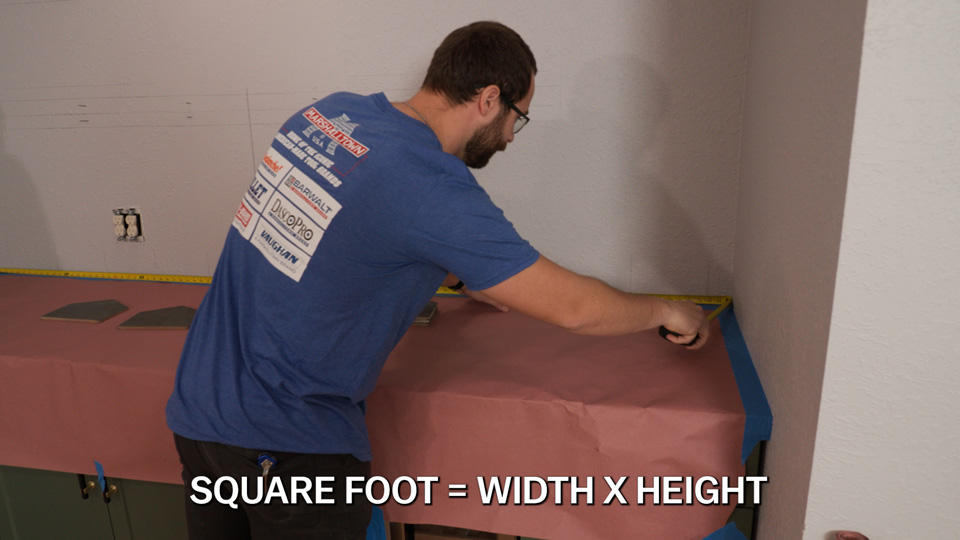
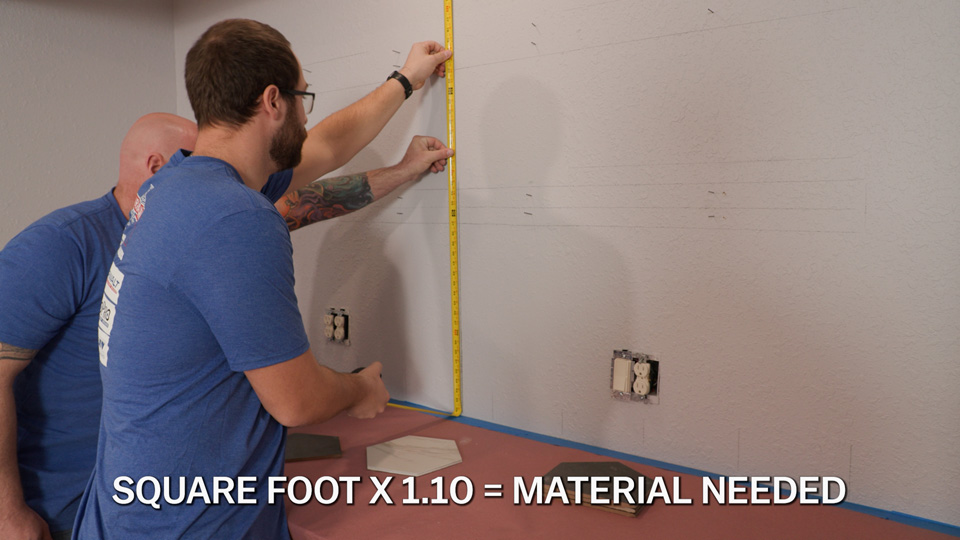
Calculate the number of tiles by multiplying the wall's width by its height to get square footage. Always buy 10 percent extra for waste or errors.
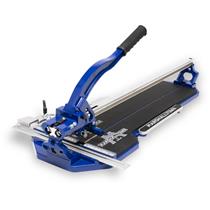
Step 2: First Row Cuts
Tools & Materials Needed:
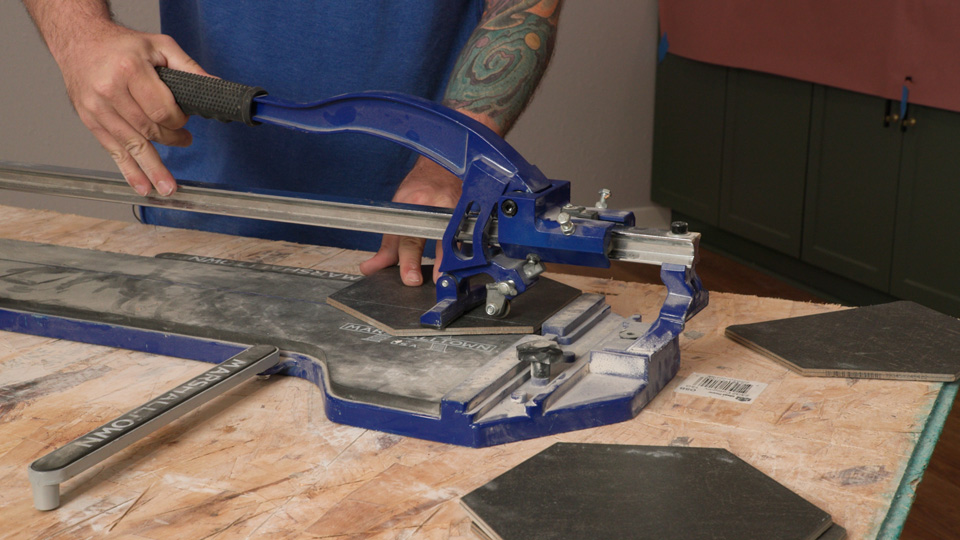
- Tile Cutter: Score and snap tile
- Grinder w/ Diamond Blade: Making cuts around outlets
With a tile cutter, cut the first row of tiles. We recommend using the MARSHALLTOWN 24" Pro Tile Cutter. The key to achieving an accurate, clean cut is to apply even pressure across the tile when scoring it. It should sound smooth and consistent, like ice skating.
Step 3: Gather Tools & Materials
Tools & Materials Needed:
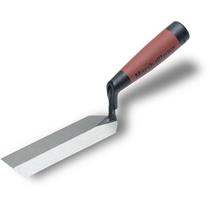
- Margin Trowel: A tile installer's handy tool; used for many jobs
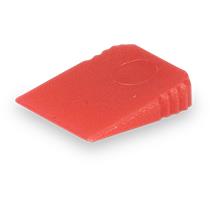
- Precision Wedges: Use with the bottom layer of tile to keep everything level
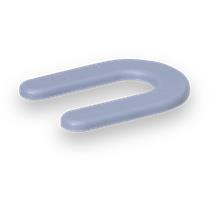
- Horseshoe Shims: Keep tiles spaced evenly
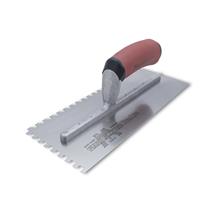
- Notched Trowel: 3/16" square notches provide the proper coverage of 80% when working with mastic
- Mastic: Ready-to-use adhesive that is ideal for walls where moisture and foot traffic aren't a concern
Step 4: Lay the Tile
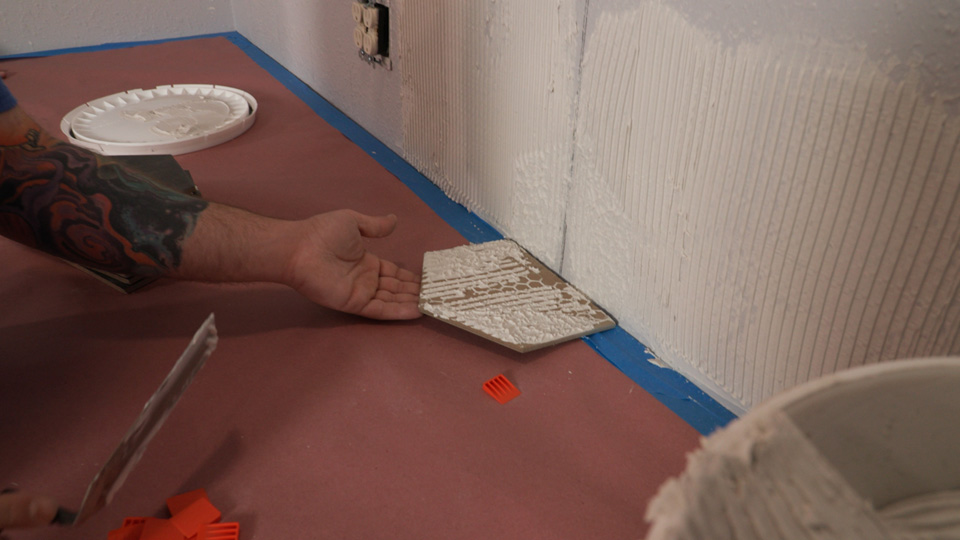
First, use the flat end of the trowel to apply a thin coat of mastic to the wall. This is called "burning" and ensures better adhesion to the wall.
Next, apply mastic in one consistent direction with your notched trowel. In this case, we are applying the mastic upward. Make sure to hold the trowel at a 45-degree angle to ensure the rows of mastic are spread evenly.
Place the tile and wiggle it left to right to collapse the ridges and ensure good coverage.
Check your first tile for coverage. If you are struggling to get good coverage, you can "back butter" the tile. This is when you apply mastic to the back of the tile before putting it on the wall.
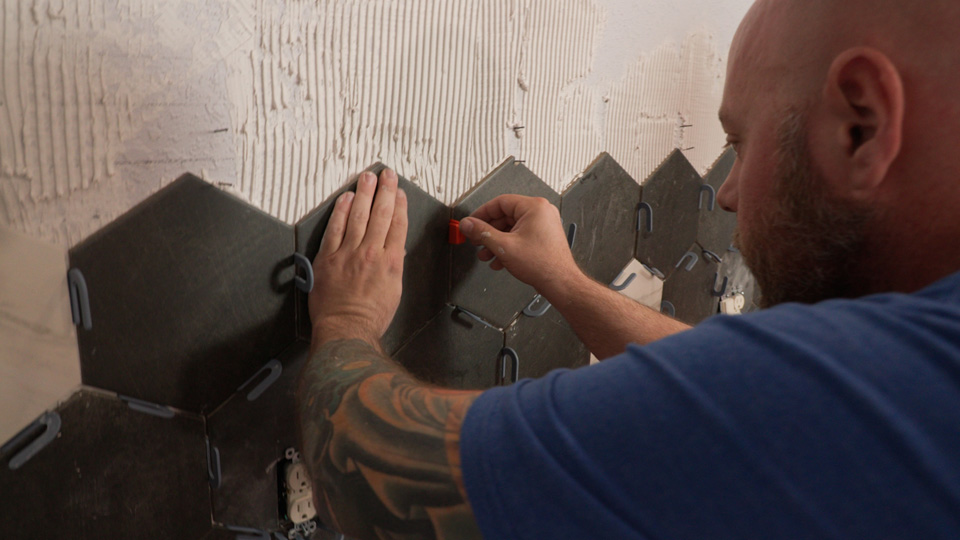
To maintain even spacing between tiles and keep the area level, use BARWALT Horseshoe Shims. Keep in mind that tiles aren't exactly the same size, so you may need to fudge them with thicker shims or wedges to keep the uneven ones in place.
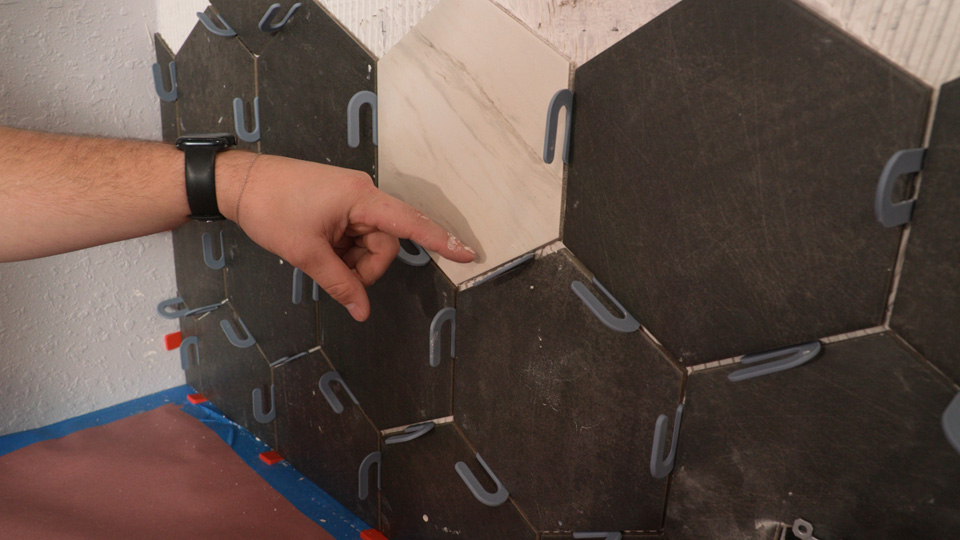
Tile installers use the word "fudge" informally to describe small adjustments made to spacing, layout, or alignment to accommodate uneven tile sizes, walls that aren't perfectly square, or when cuts don't land exactly where planned.
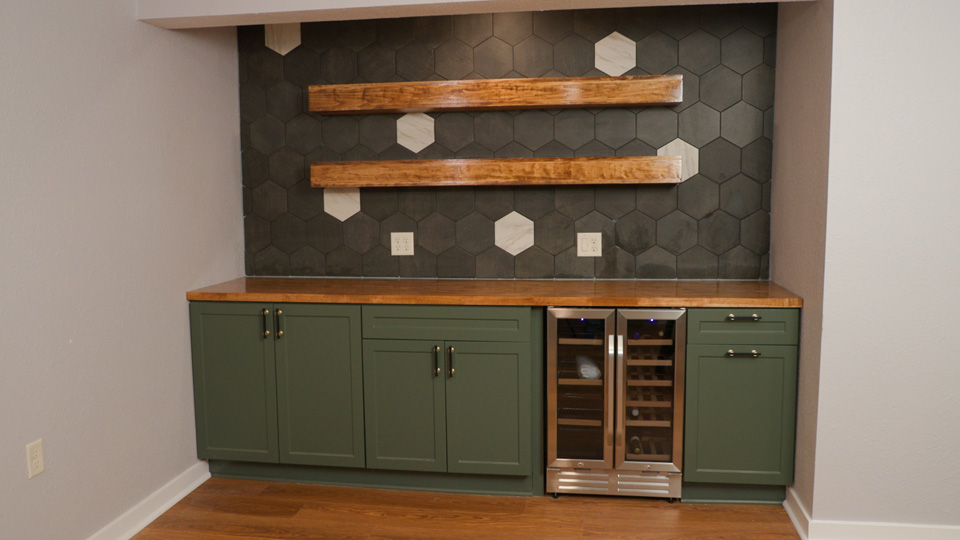
You may have to make some tricky cuts around outlets or shelving. If you are hanging floating shelves, use a diamond drill bit to drill mounting holes before finishing tile around the shelf area.
Step 5: Remove Spacers
Allow the tile to set overnight and then remove the spacers to prep for the next step: grouting!
Step 6: Grouting
Tools & Materials Needed:
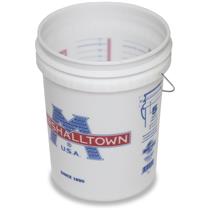
- 5 Gallon Bucket: Holds more than 5 gallons for easy mixing of material
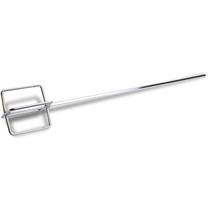
- Eggbeater Mixer: Efficiently mixes grout
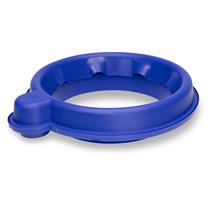
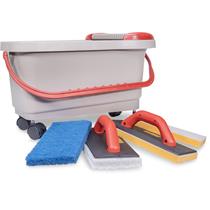
- DustPro 360™: Attaches to your 5-gallon bucket to reduce airborne dust for a cleaner, safer work environment
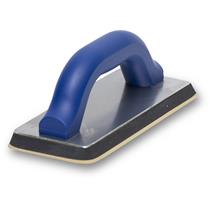
- Grout Float: Spreads the grout over the tiles
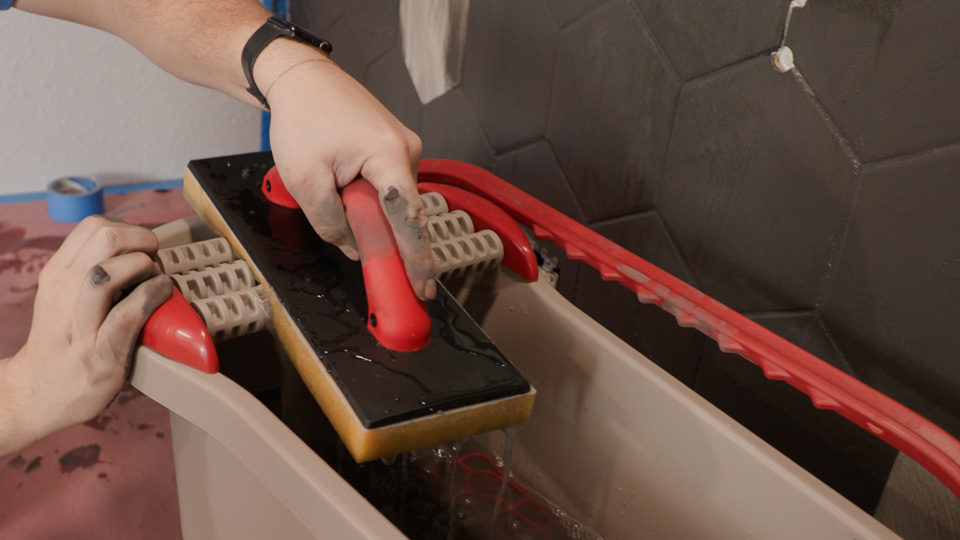
- Ultra Grouting System: Cuts grouting time nearly in half with less of a mess (If you don't have an Ultra Grouting System, sponges work great as well!)
Once you have your tools gathered, the first step is to mix up the grout.
Because of the 1/8" grout joints, our experts used a sanded grout called Tech Power Grout, which allows you to wash it sooner.
Start by adding a little bit of water to your 5 gallon bucket to act as a lubricant so the dry grout doesn't stick to the bucket. Then add in the grout and water, mixing with your MARSHALLTOWN Eggbeater Mixer, until the grout has a peanut butter-like consistency.

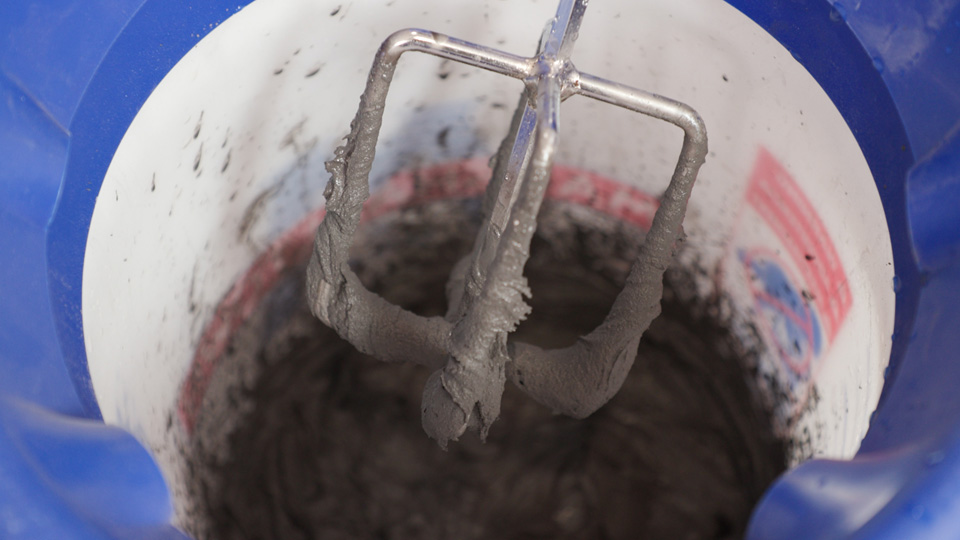
Allow the grout to sit for five minutes before remixing and applying (called slaking).
Slaking ensures good working time and the strongest bond. Follow the manufacturer's instructions. They always include the amounts of water and grout needed, as well as how long to let the grout slake.
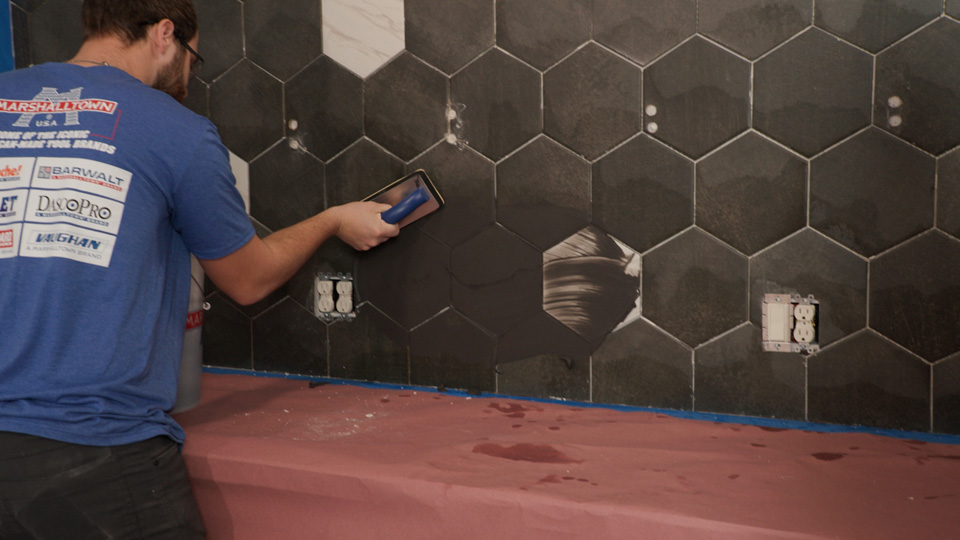
To keep things as tidy as possible, apply grout in small increments with your Grout Float. Always grout at a 45-degree angle in the direction of the tile (not straight up and down) to make sure you don't pull any grout out of the joints.
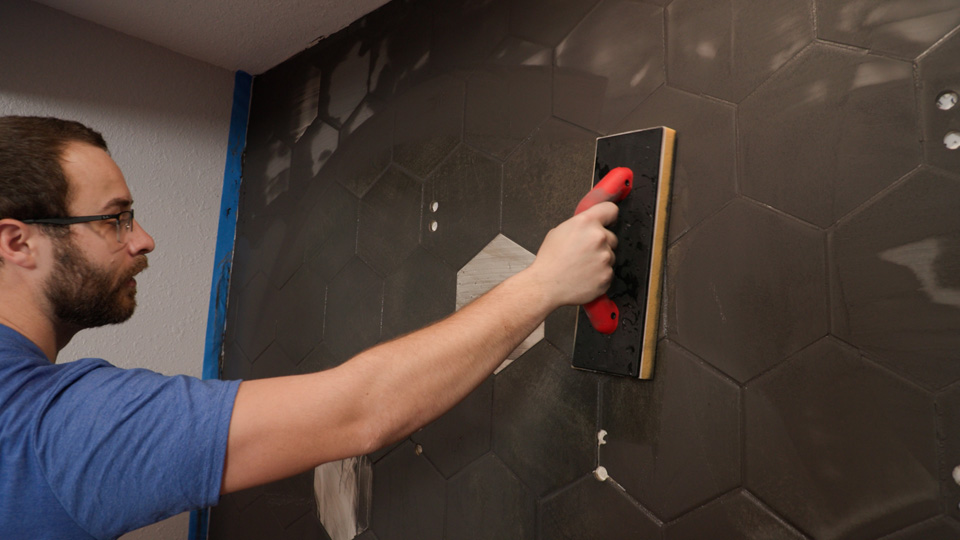
Once the grout is no longer "grabbing" or sticking to your finger, you can begin cleaning up the grouted area. Rinse the surface at least 2–3 times with a sponge. Use the BARWALT Ultra Grouting System sponge to clean the tiles without removing grout from joints. Fill in any pinholes using leftover grout before it dries. Wait around 5 to 15 minutes and repeat the rinsing process two more times.
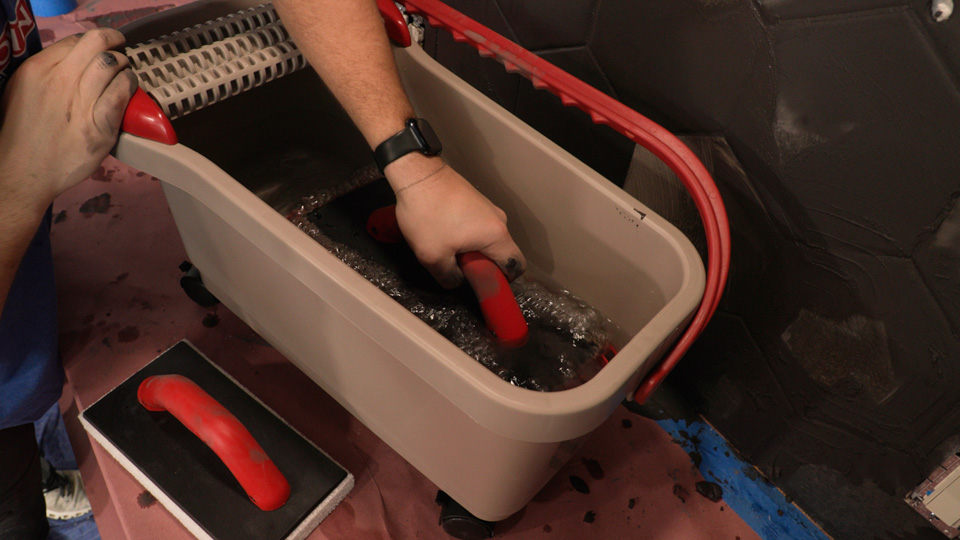
For a full run-down on the BARWALT Ultra Grouting System, check out our video: Fast & Easy Grout Cleaning with the Ultra Grouting System.
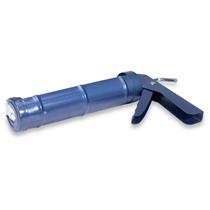
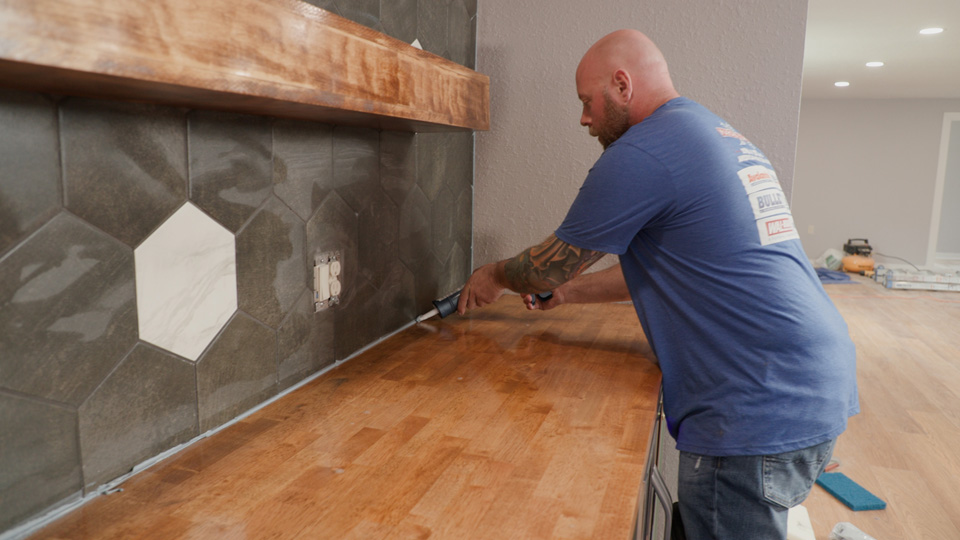
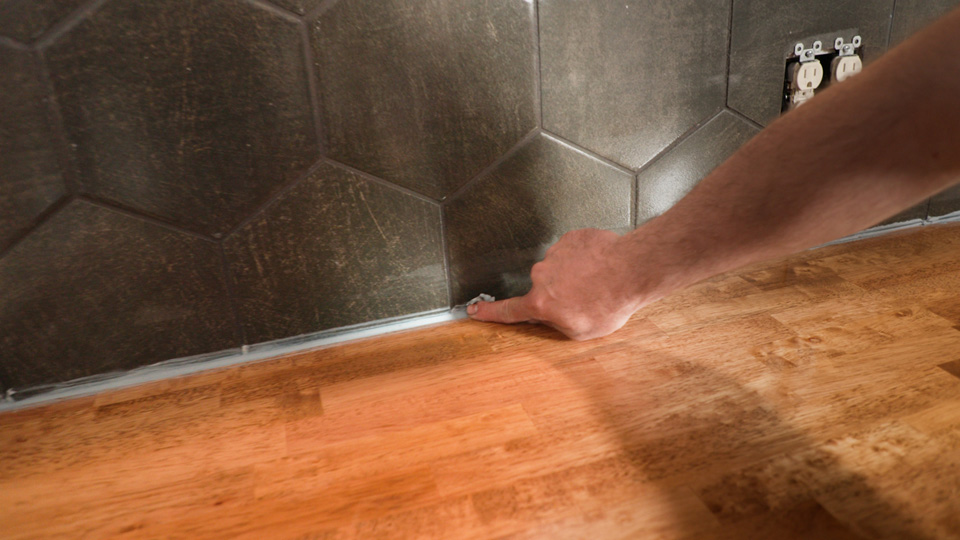
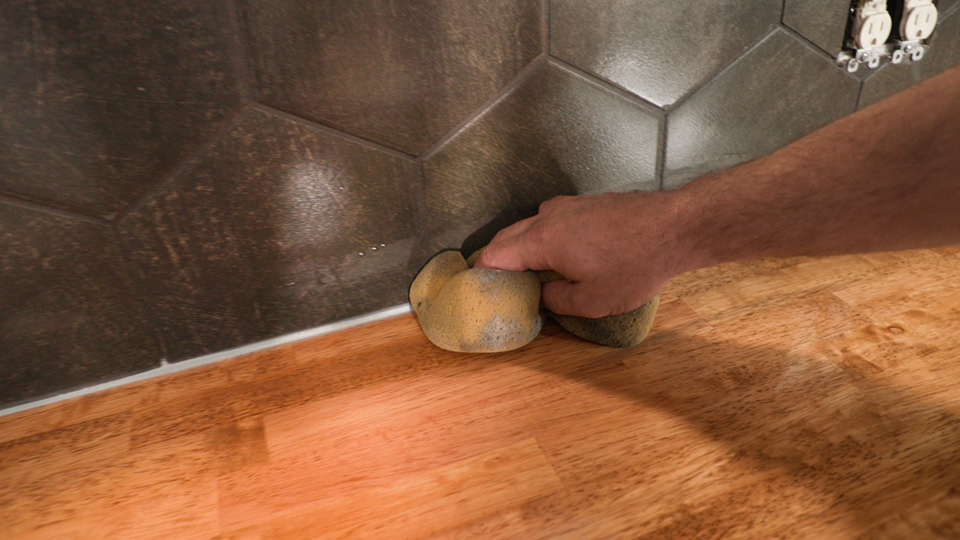
Step 7: Caulking
Apply sanded caulk around the edges with the BARWALT Caulking Gun. Make sure to use a wet finger and sponge to smooth it out.
The entire project took our team around 8 hours over the course of 2 days. The wall looked professionally done, even though a few minor challenges popped up, like uneven tiles sizes and outlet cuts.
Whether you are refreshing your backsplash or tackling an accent wall, it's all about preparation, patience, and precision. With the right steps and the best tools, this tiling job is very achievable for DIYers!