In a previous Workshop article, Decorative Concrete is Here to Stay, we discussed the advantages of stamped concrete: it’s versatile, budget-friendly, durable, low-maintenance, and transforms a plain concrete patio into something fun and eye-catching. With several patterns to choose from, you can customize your concrete however you please.
The process may seem a bit daunting, so we’ll break it down for you in five easy-to-follow steps that begin with mixing and pouring the concrete. To learn how to prepare your yard for a concrete pour, check out our Workshop post called Pouring a Concrete Slab.
Step 1: Mix and Add Color
Depending on the size of your project, you will need to either mix the concrete yourself or order a truck. This patio project was part of a larger pour, so we have a truck. To really make your patio stand out, you can add color. Our Uni-Mix® Integral Concrete Colorants come in a variety of colors that will add vibrance to your project. For this patio, we chose the sophisticated Gull Gray.

You will need 1 bag of colorant per 1 cubic yard of concrete. A bag of colorant will accommodate 5 sacks (470 lbs) of Portland cement per cubic yard (3500 psi mix) and/or 6 sacks (564 lbs) of Portland cement per cubic yard (4000 psi mix) of concrete.
Step 2: Pour Concrete
Work in sections making sure to cover the area with an even amount of concrete. Use an Octagon Placer to place the concrete toward the edges and into the corners. The surface won’t be level at first, and that’s okay! The initial leveling will be done in the next step.

Step 3: Level and Smooth the Surface
Move your Magnesium Alloy Screed across the surface in a back-and-forth sawing motion, smoothing out the peaks and filling any low spots. (You’ll need a couple passes with the screed to see the best results.)
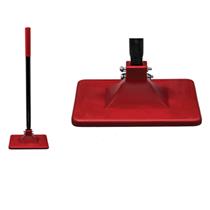
After your slab is level, use a Bull Float to achieve a smooth finish. The Bull Float pushes down the aggregate and brings a creamy paste to the surface. It also smooths out any marks, blemishes, or imperfections from screeding.


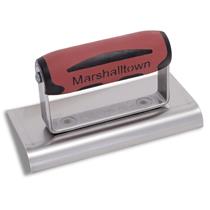
Next, round out the edges of the slab using a Hand Edger. Work in long, sweeping strokes until the edge is smooth, solid, and straight. To see if the slab is ready for stamping, press your palm against the concrete. If you leave behind an indent between ¼" and ½" deep, you are ready to stamp!

Step 4: Let’s Stamp!
Prior to any stamping, dust a layer of Perma-Cast® Antiquing Release Colorant over the finished surface to prevent the stamps from sticking while also adding depth and texture to the pattern.


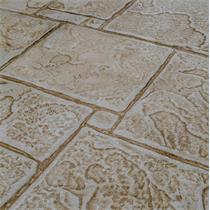
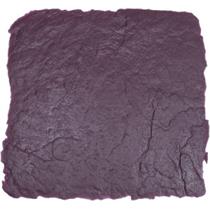
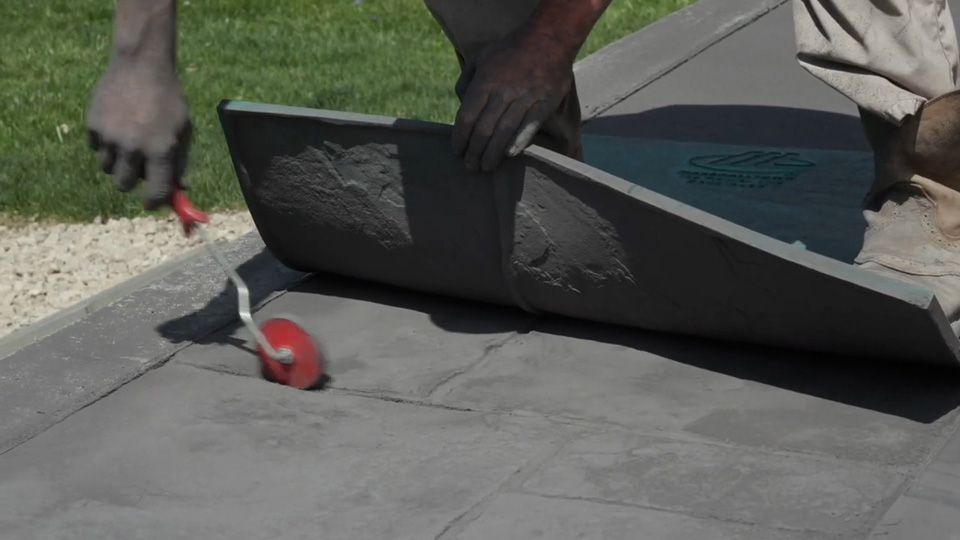
Next, choose a corner to start at and set the stamp onto the concrete. We are using the English Riverstone Stamps, which come in three patterns to give the random look of real stone. Pat the stamp down with a Hand Tamper to transfer the pattern onto the concrete. Then, set the next stamp down as close to the first as possible.
To remove stamps, pick them up directly upward without twisting or angling to avoid smashing your hard work.


When you reach a section requiring less than a full stamp, use a flex stamp. To make any touch ups to the pattern or the grout line, use a Texture Skin or the Touch Up Wheel. Repeat this step until you finish stamping the entire slab.
Step 5: Finishing Touches
Within 24 hours, make sure to pressure wash the slab and saw cut it. Once the surface is completely dry, go ahead and seal the area. We recommend using a sealant like Clear Guard® Pro 350® Cure and Seal to preserve the look and color of your concrete surface.

Lastly, decorate and fill your new patio with any furniture and plants. Now, sit back and enjoy your hard work!